Meadow and area near the Planet sculpture will be temporarily closed from 2.00pm to 4.30pm on Sun, 2 Aug 2026, in preparation for the Gardens by the Bay and Mediacorp National Day Concert. Entry will reopen from 4.30pm, subject to security screening.
For a better visiting experience and facilitate crowd movement, we seek your kind understanding that usage of tripods and camera stands will not be permitted in Floral Fantasy.
To facilitate the construction of the bridge linking Bay South Garden and Bay East Garden, there will be no access for cyclists along the Waterfront Promenade from 4 May 2026. During the construction of the bridge, cyclists heading towards Marina Barrage are advised to take an alternative route around the perimeter of Bay South Garden. Pedestrians may still access the Waterfront Promenade, with a slight diversion to their route.
Click here to download the diversion map.
{{ suggestion.item }}
{{ noOfResults }} results found for "{{ submittedQuery }}"
Filter by
({{ currentFilters.length }})
Showing {{ searchResults.length }} out of {{ noOfResults }}
{{ result.category.label }}
We’re sorry. 0 results found for "{{ submittedQuery }}"
Try doing these:
- Check your spelling
- Try more general words
- Try different keywords
Malabar Spinach
Malabar spinach (Basella alba), known locally in Singapore as di huang miao (帝皇苗), is one of the easiest, most nutritious, and rewarding vegetables to grow from what you already buy in the supermarket produce section! If you can find a rarer, red-stemmed variety (Basella alba 'Rubra'), grab that and grow it too!
Grow new plants from tip cuttings and give them plenty of sun and water. In just six weeks, this succulent, fast-growing vine will be large enough to harvest. Clip off the long shoots and eat them raw in salads, or cooked in stir-fries, perhaps with a creamy sesame dressing, in our recipe below.
Let’s chop and prop!
Growing Malabar spinach
These vigorous vines will start climbing a trellis or frame but don’t let them – they will grow long stems with few leaves. Instead, continue to harvest the shoot tips and new shoots will grow tall and straight from the base.
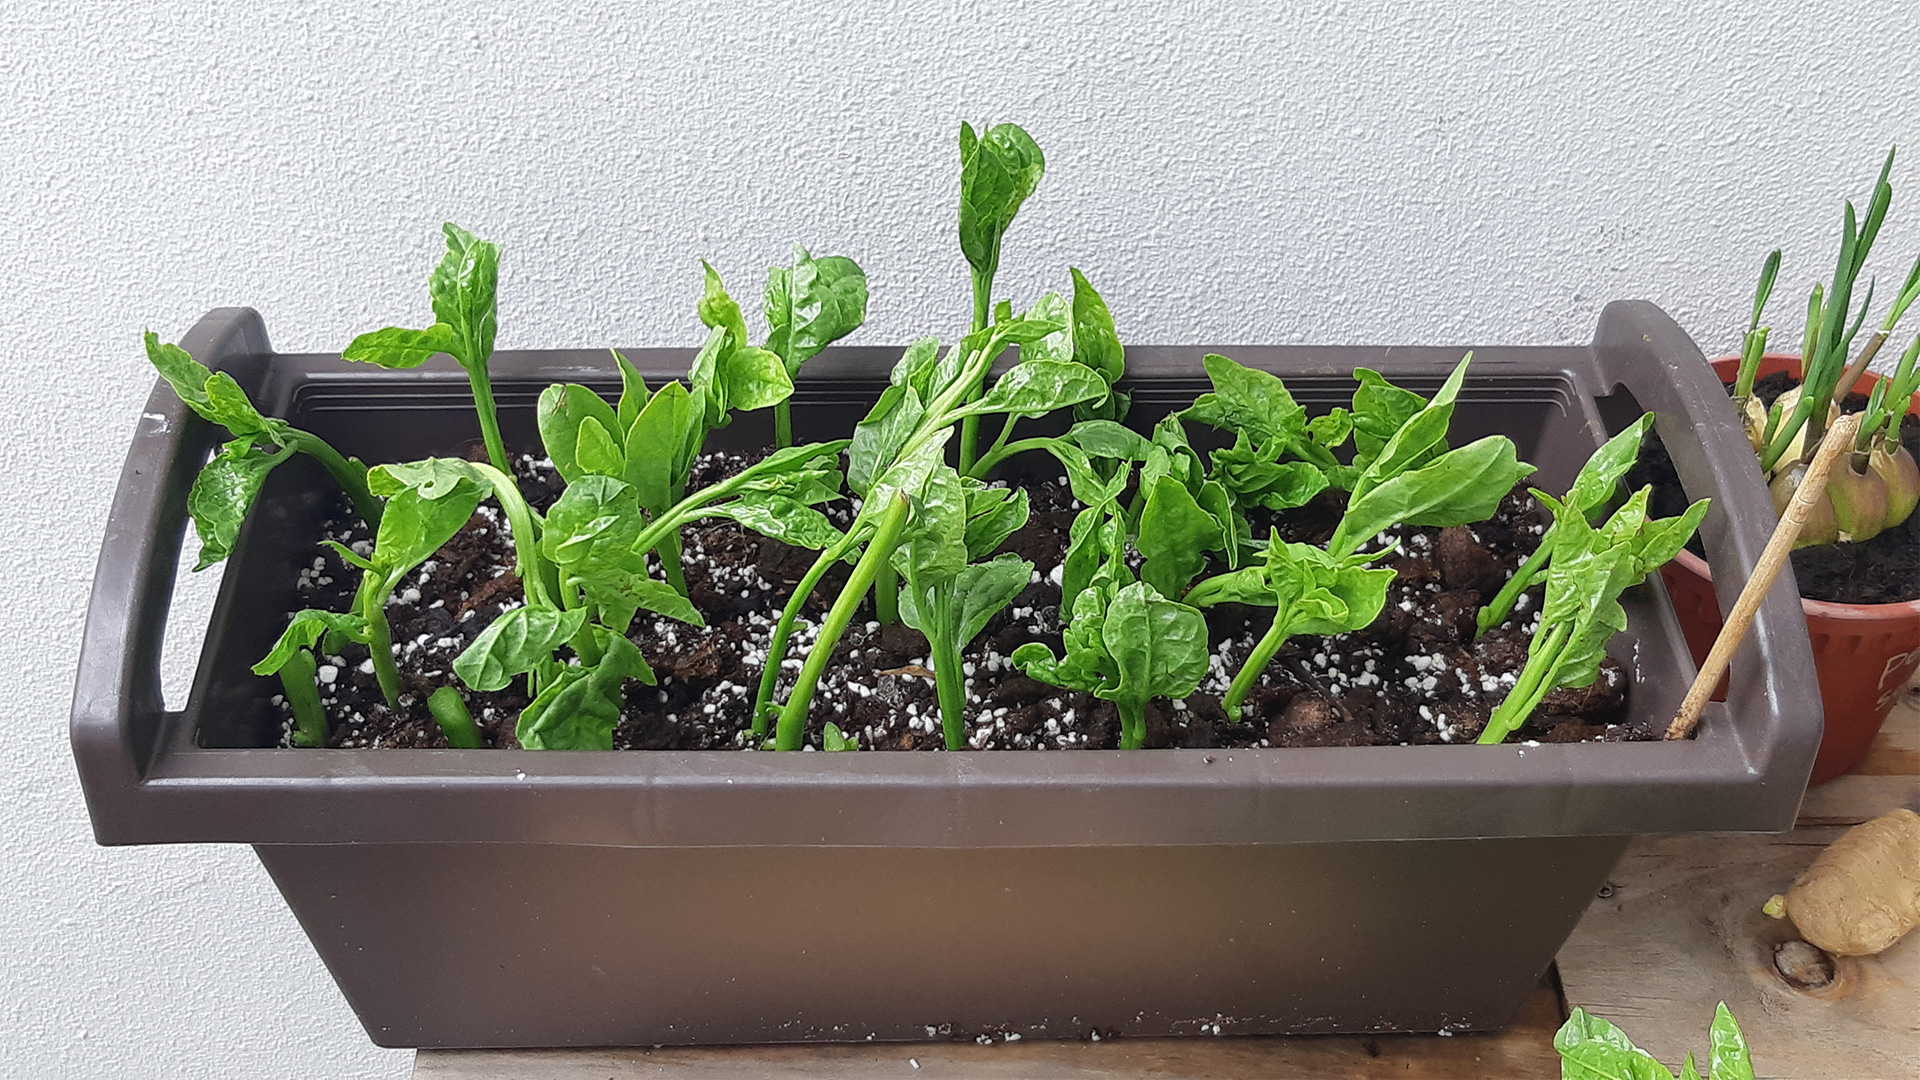
Week 0
Right after planting and ready to get growing!
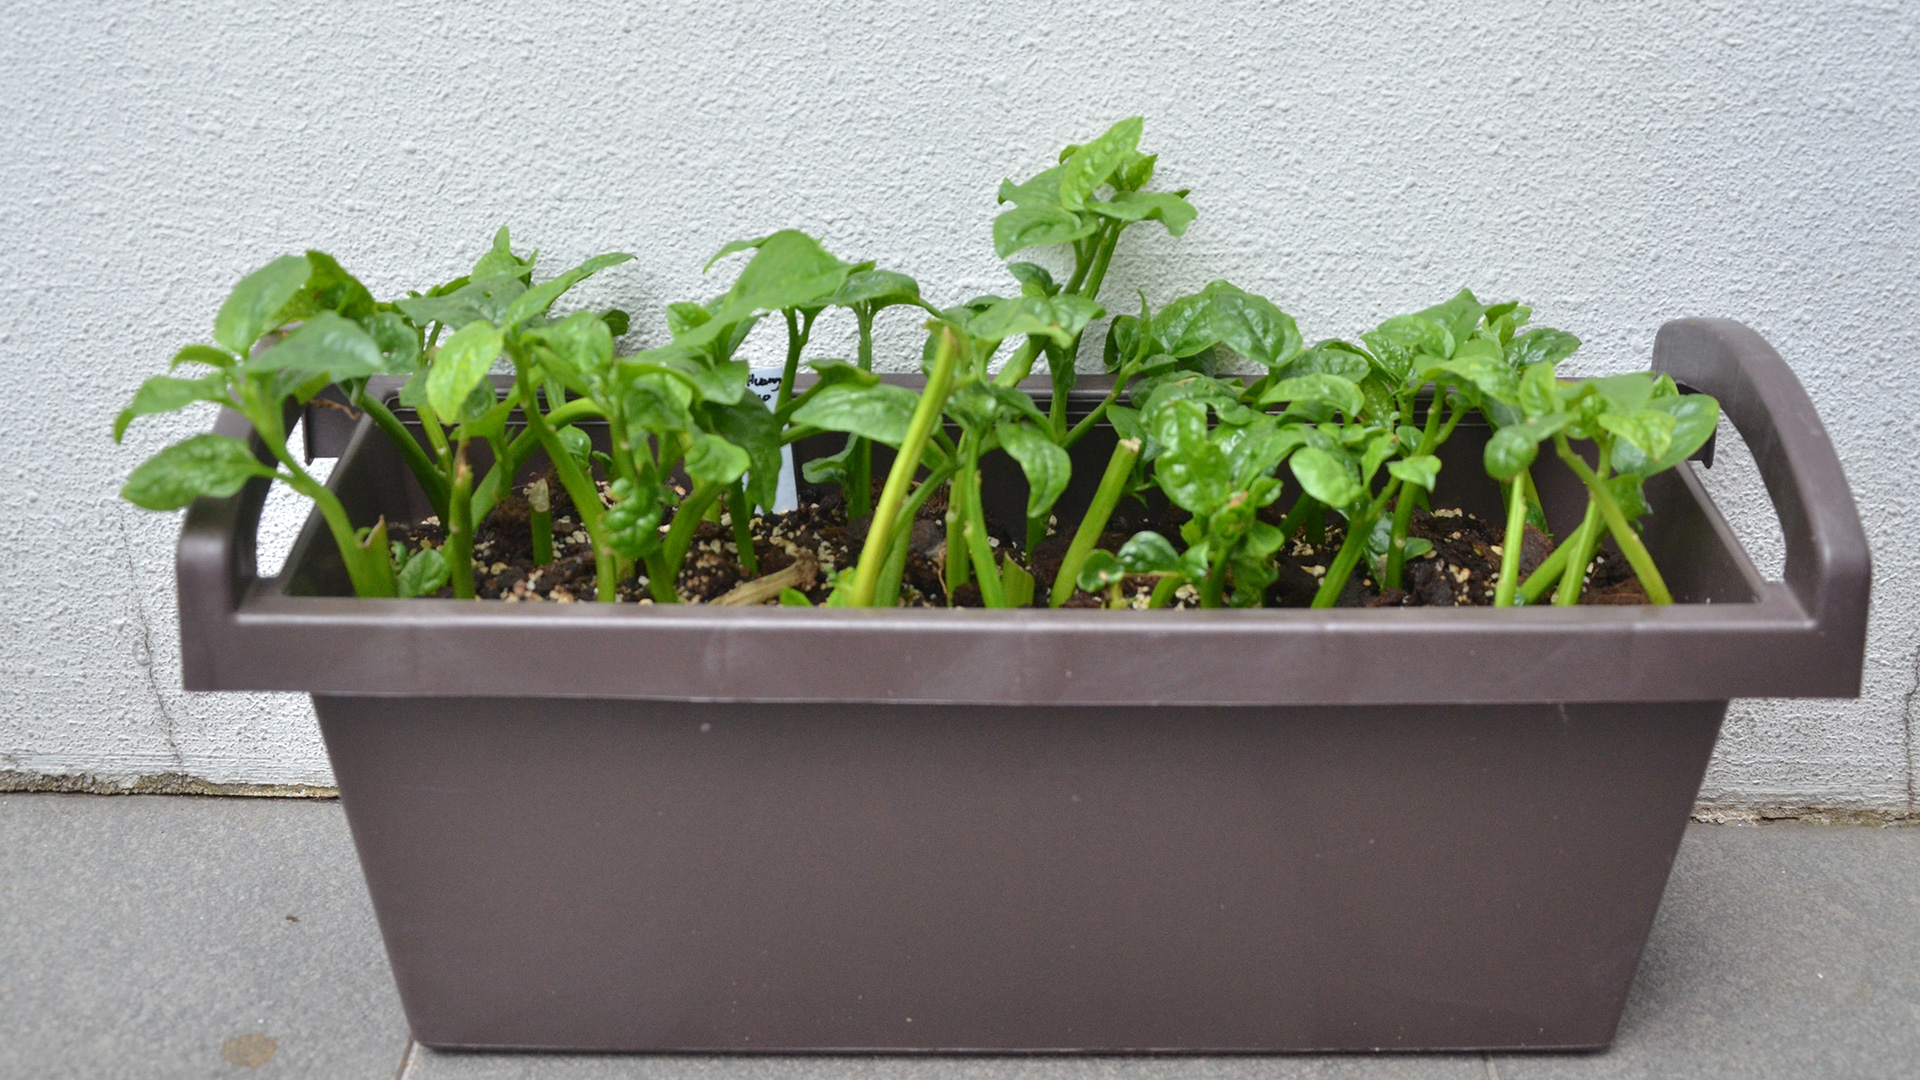
Week 2
Leafing out and growing roots
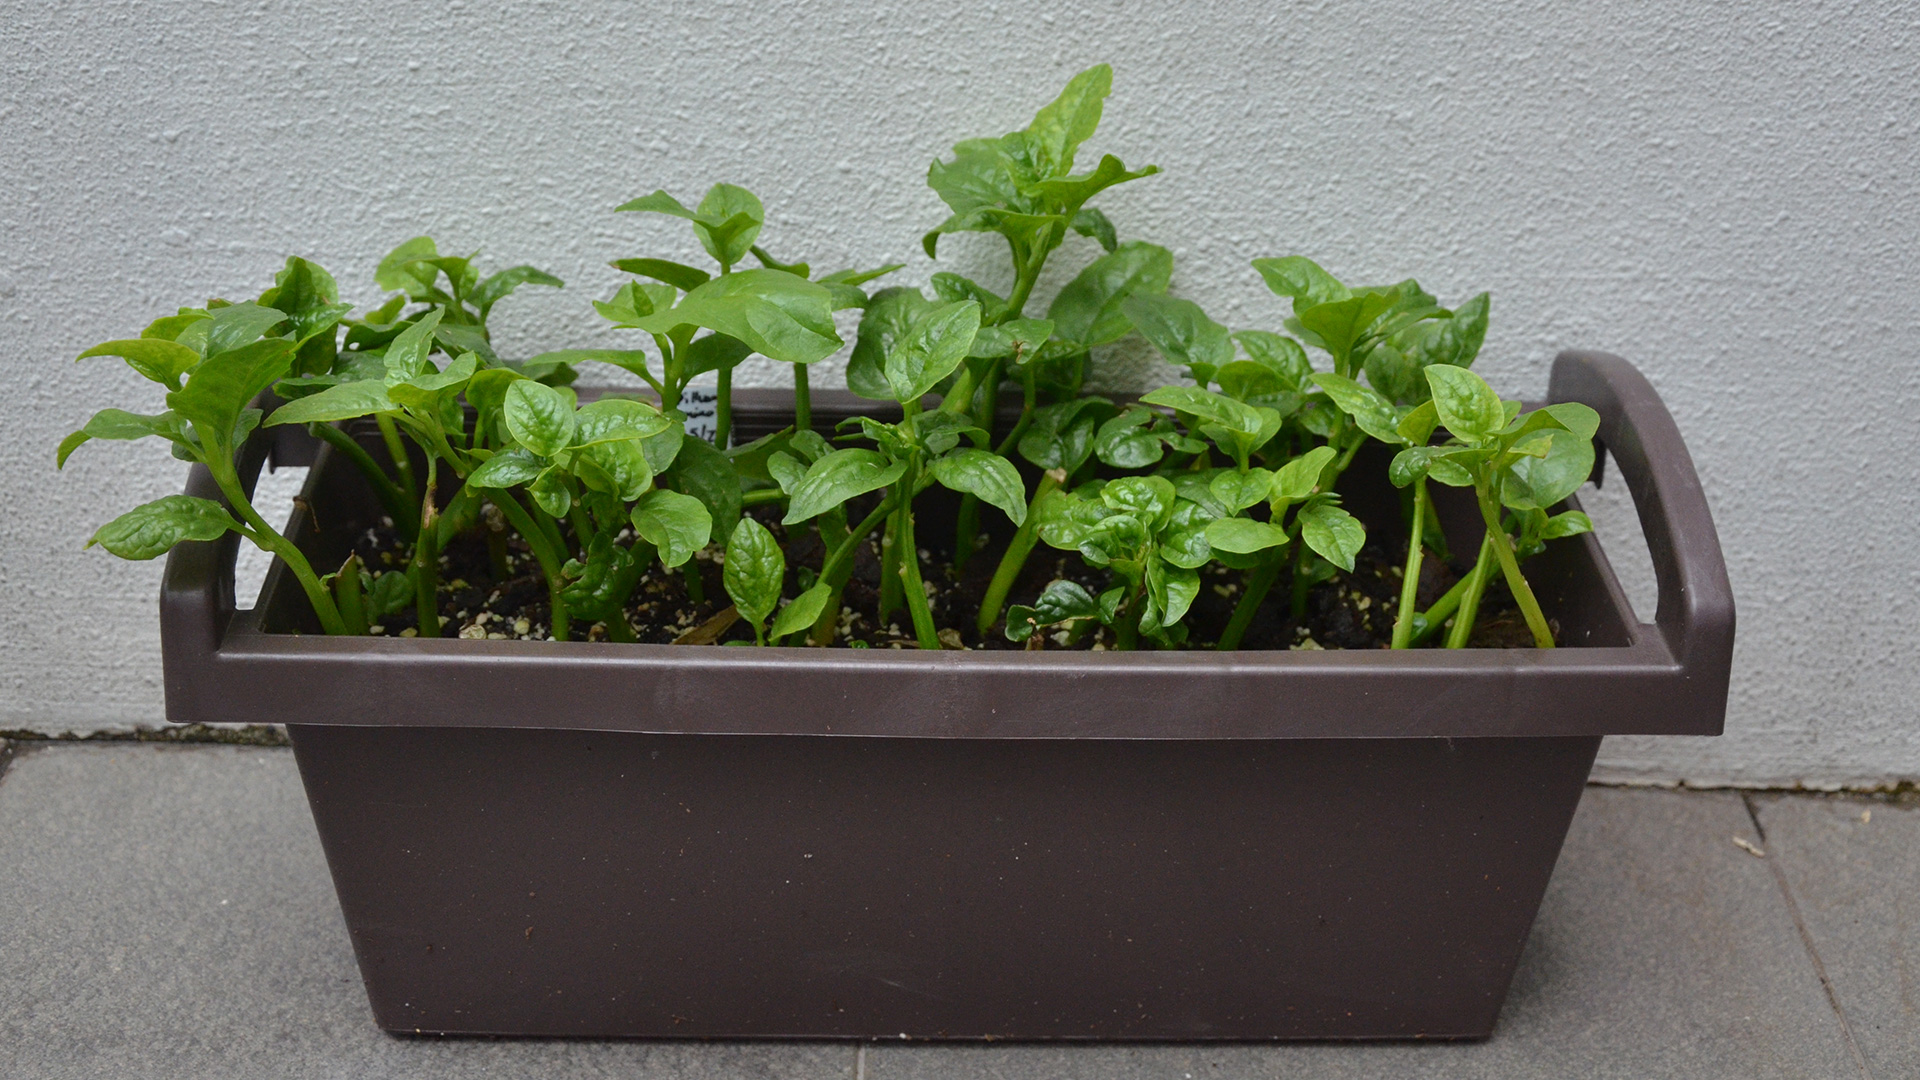
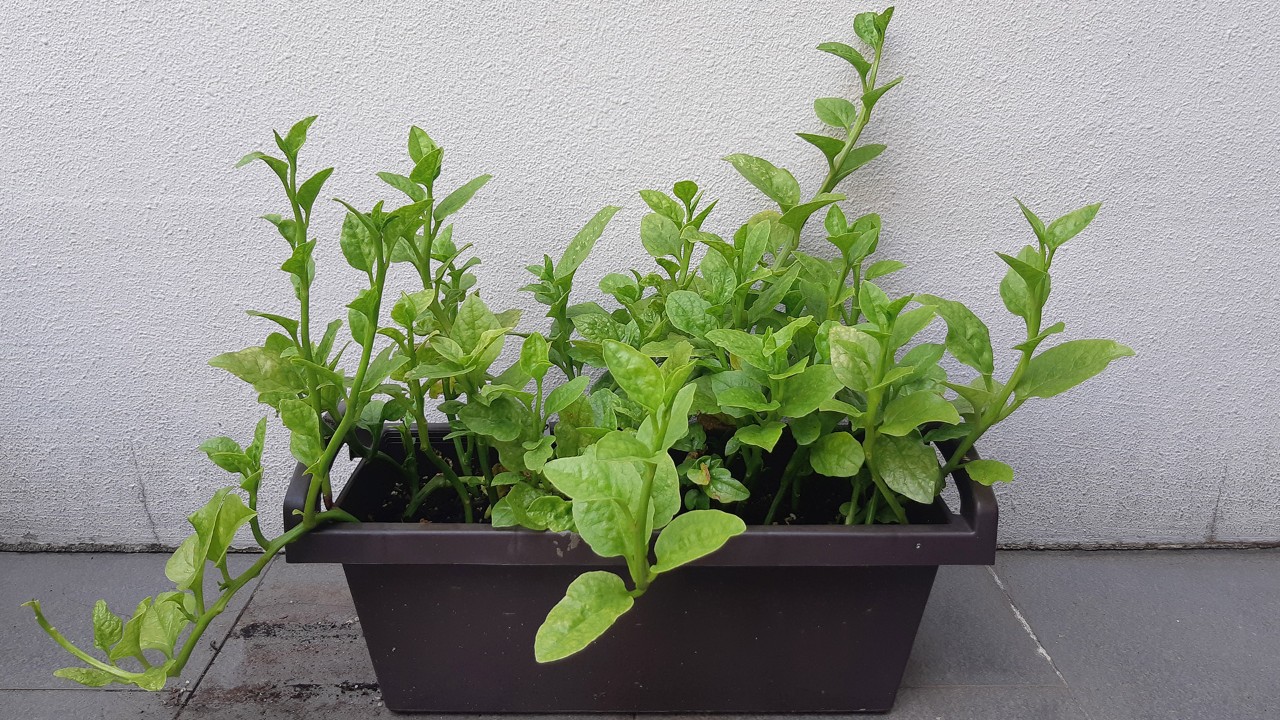
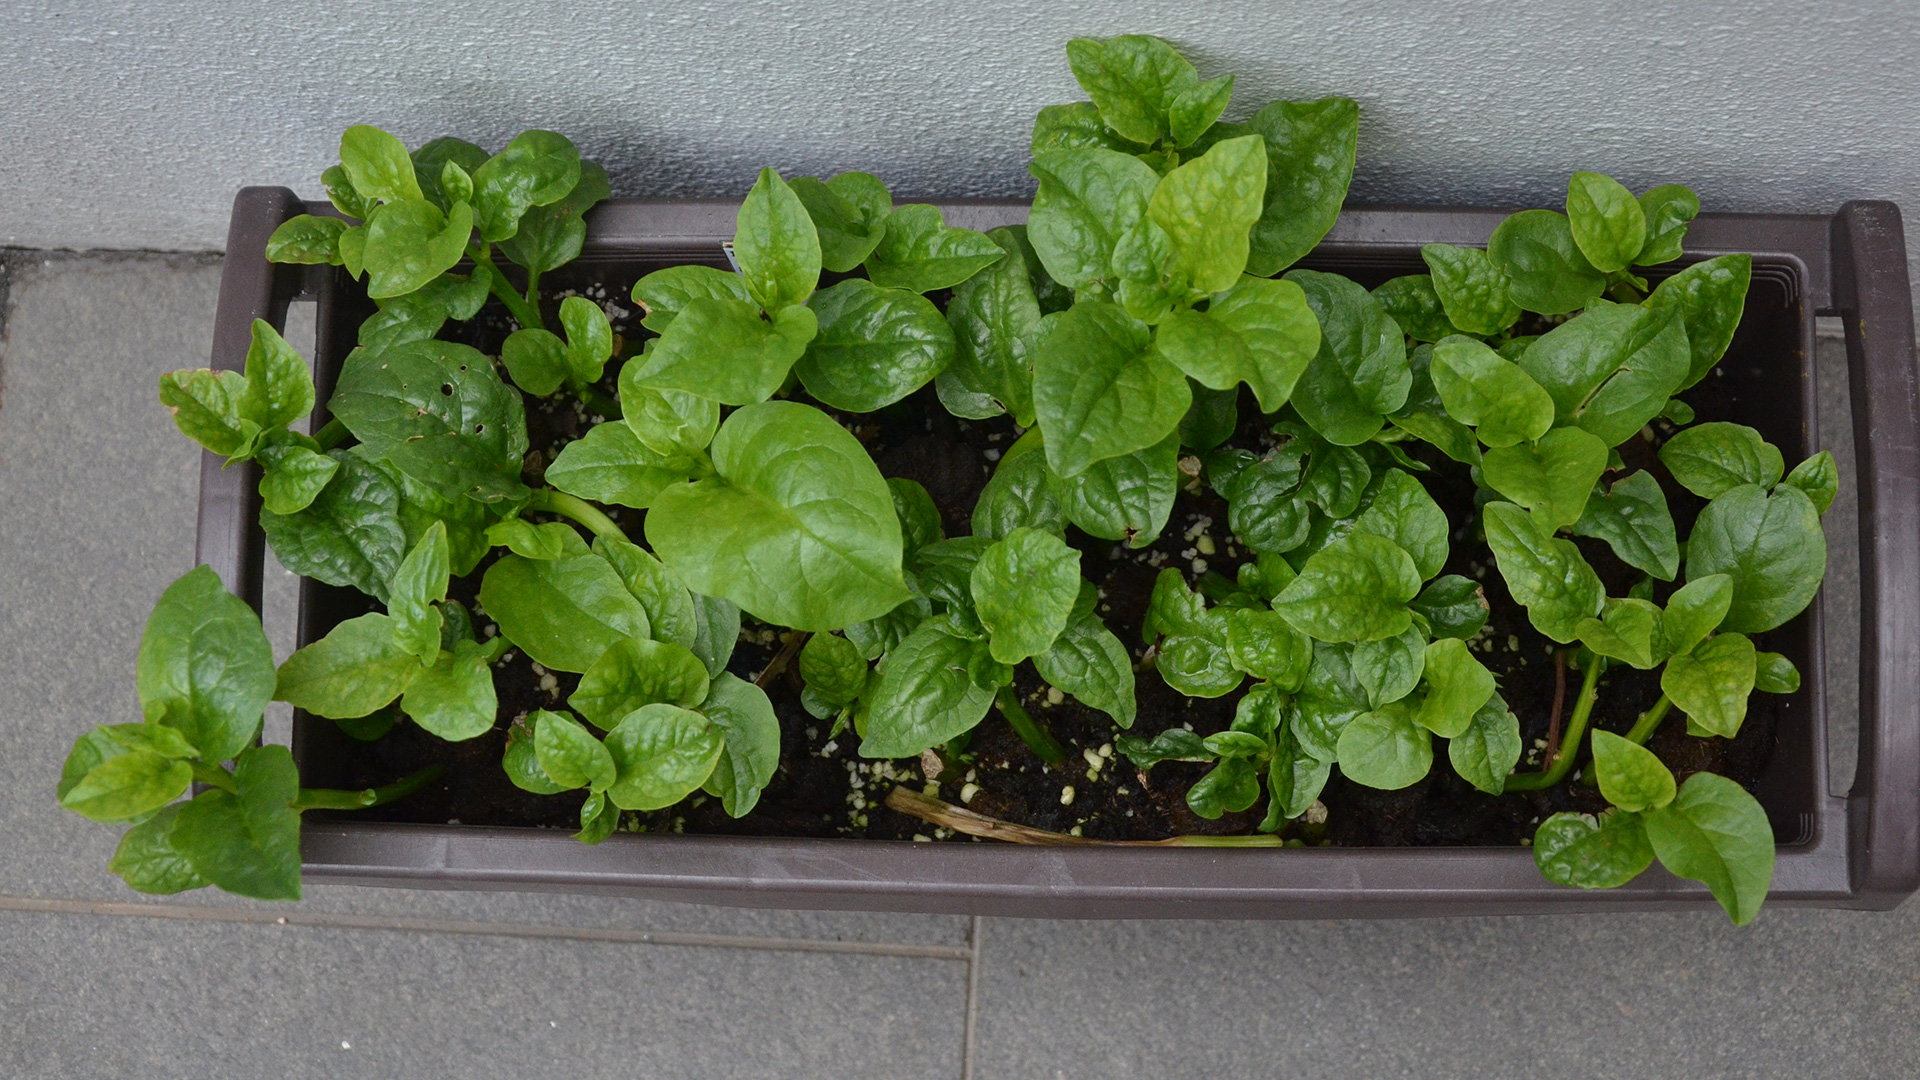
Week 3
Established plants start to grow rapidly
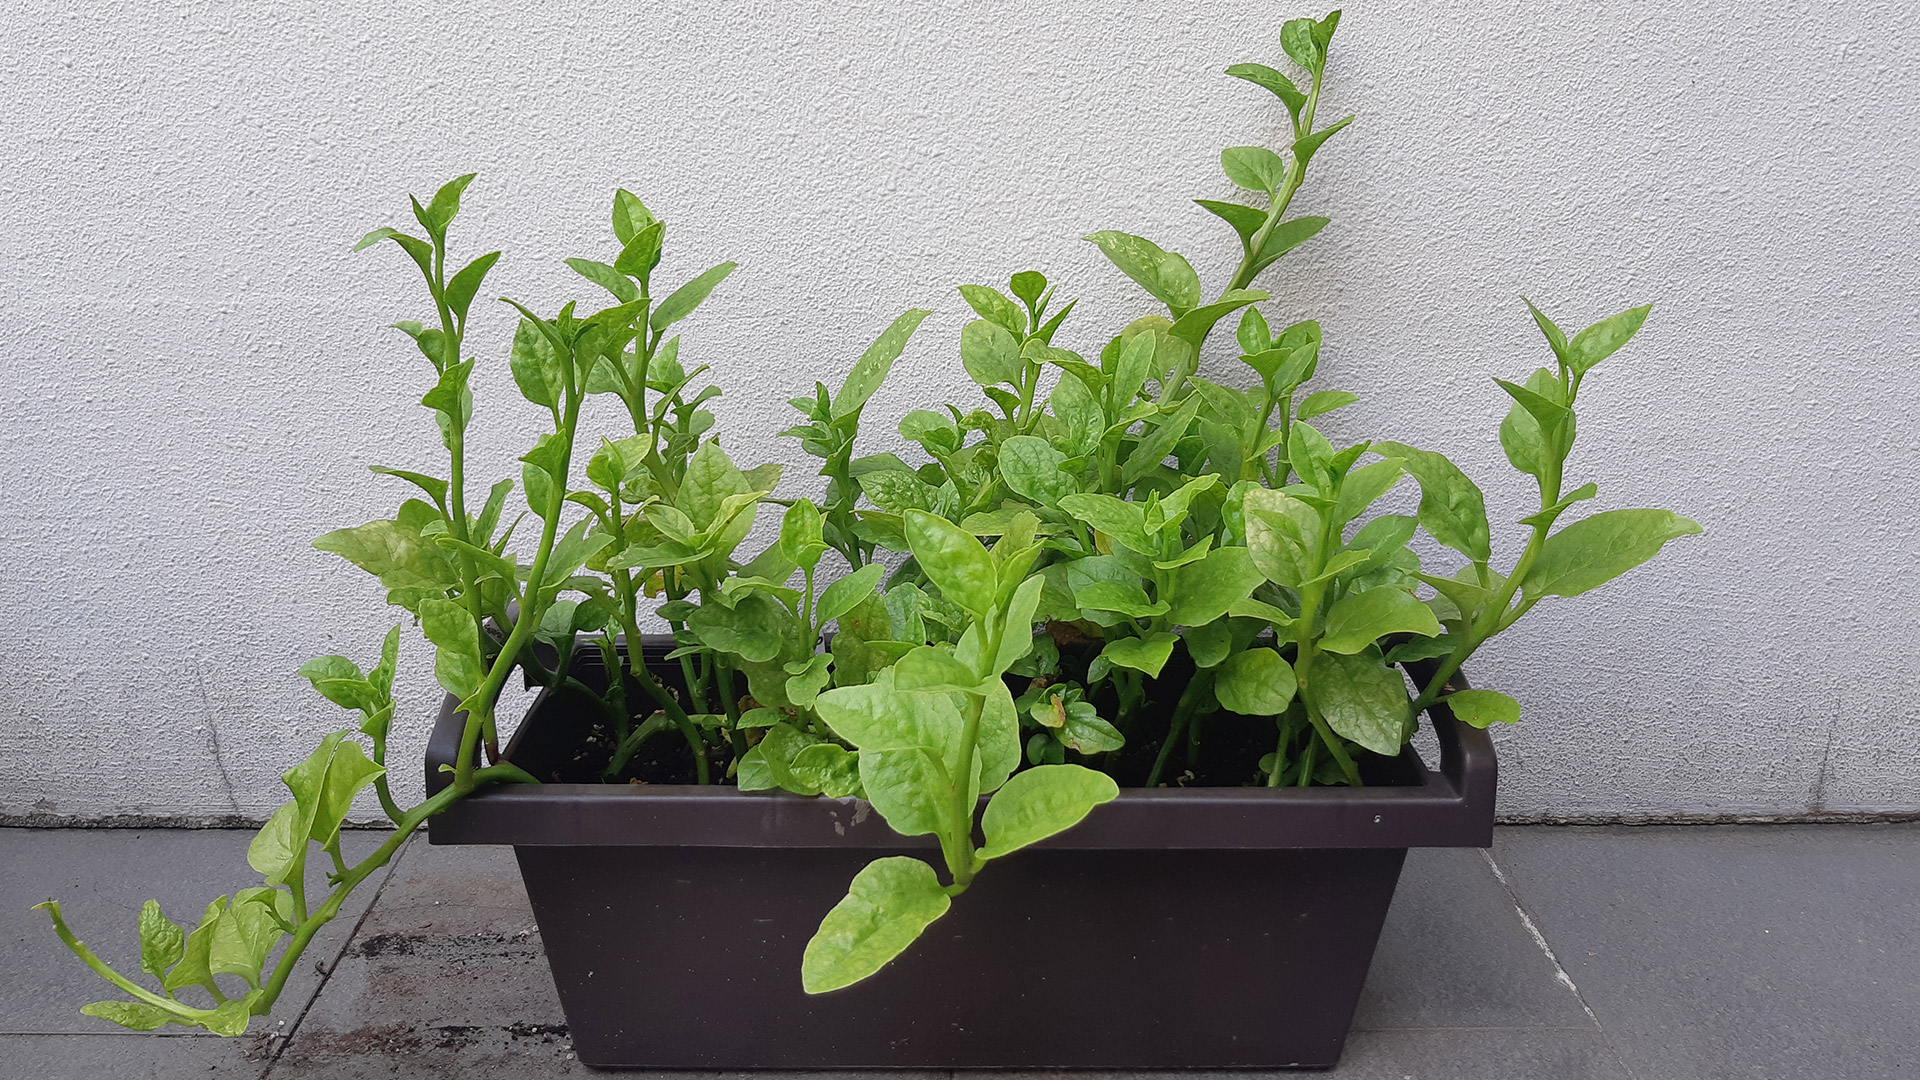
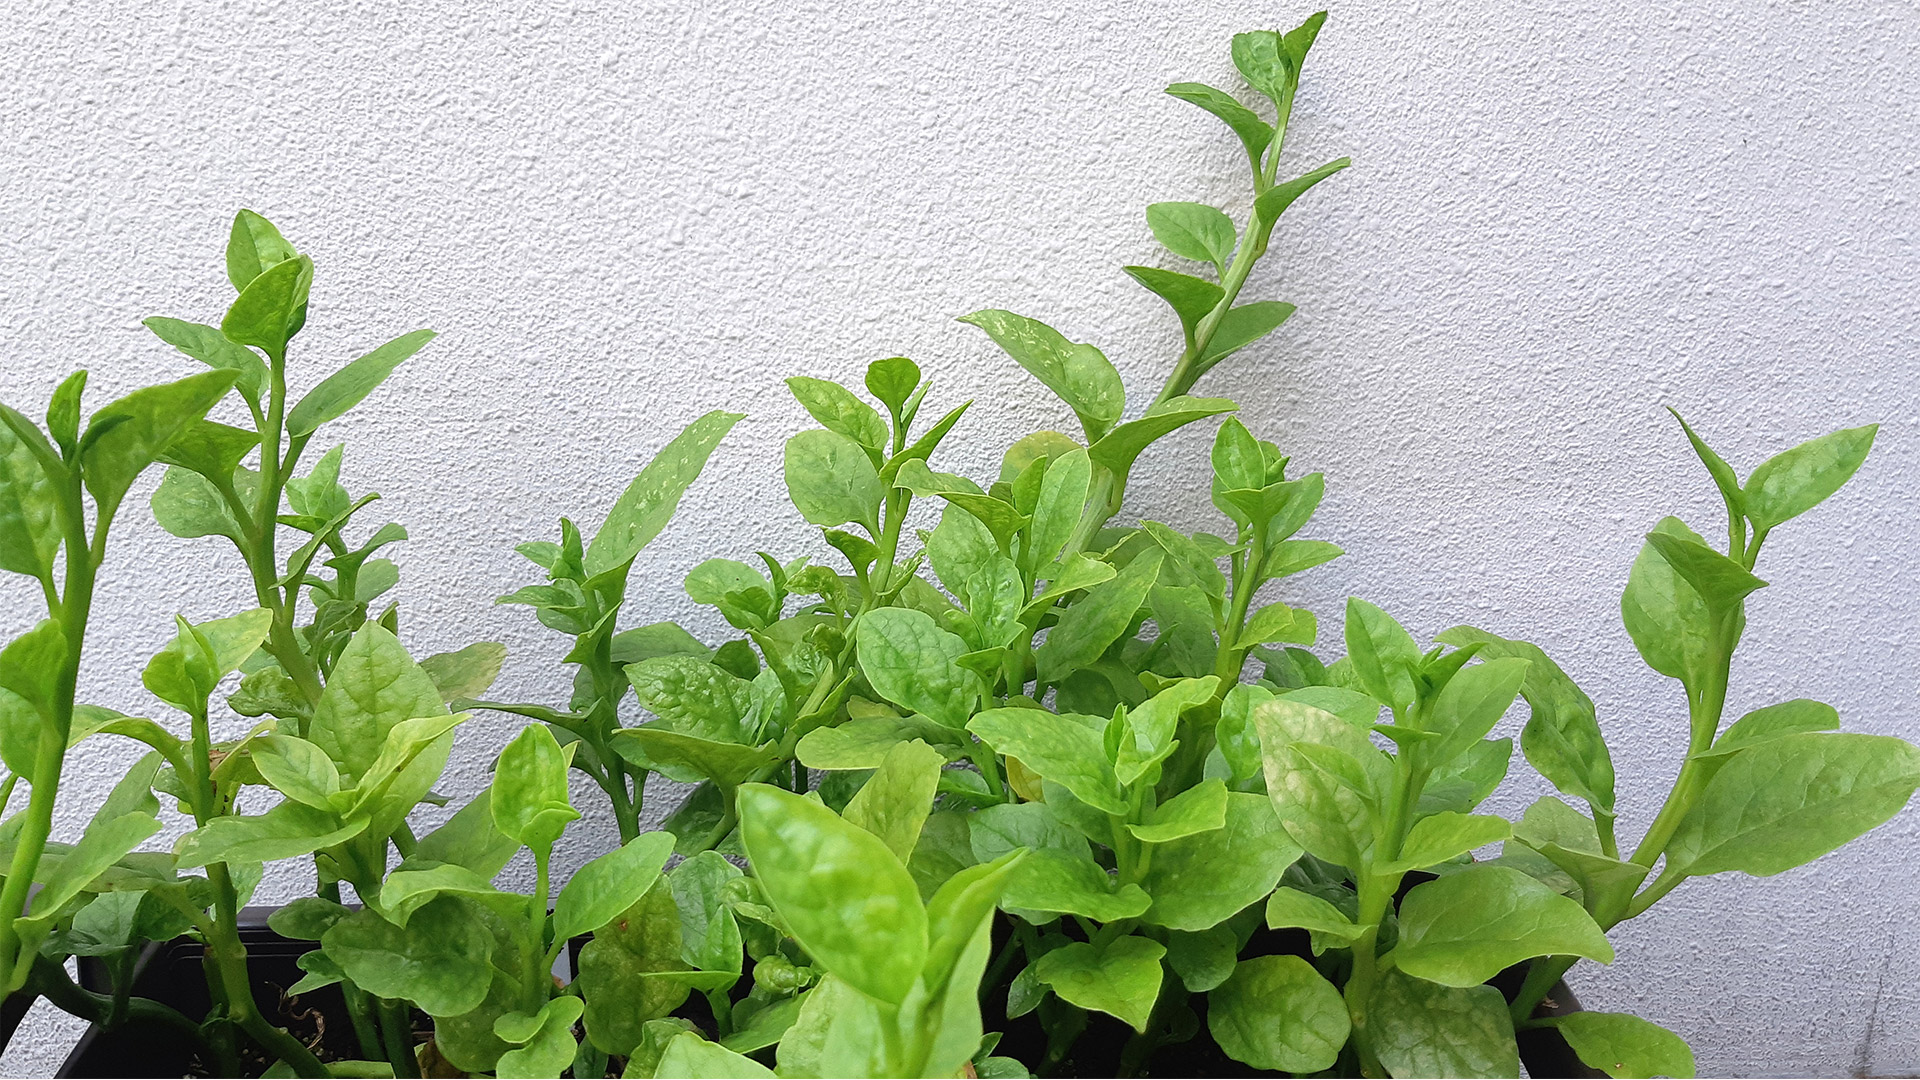
Week 6
Ready to harvest and regrow
What you need:
1 bundle green or red Malabar spinach (15-20 stems)
Light, free-draining potting soil
Long rectangular planter box
Chopstick or dibble stick to poke holes in soil
Rooting hormone powder (optional)
Granular, slow-release fertilizer
Steps
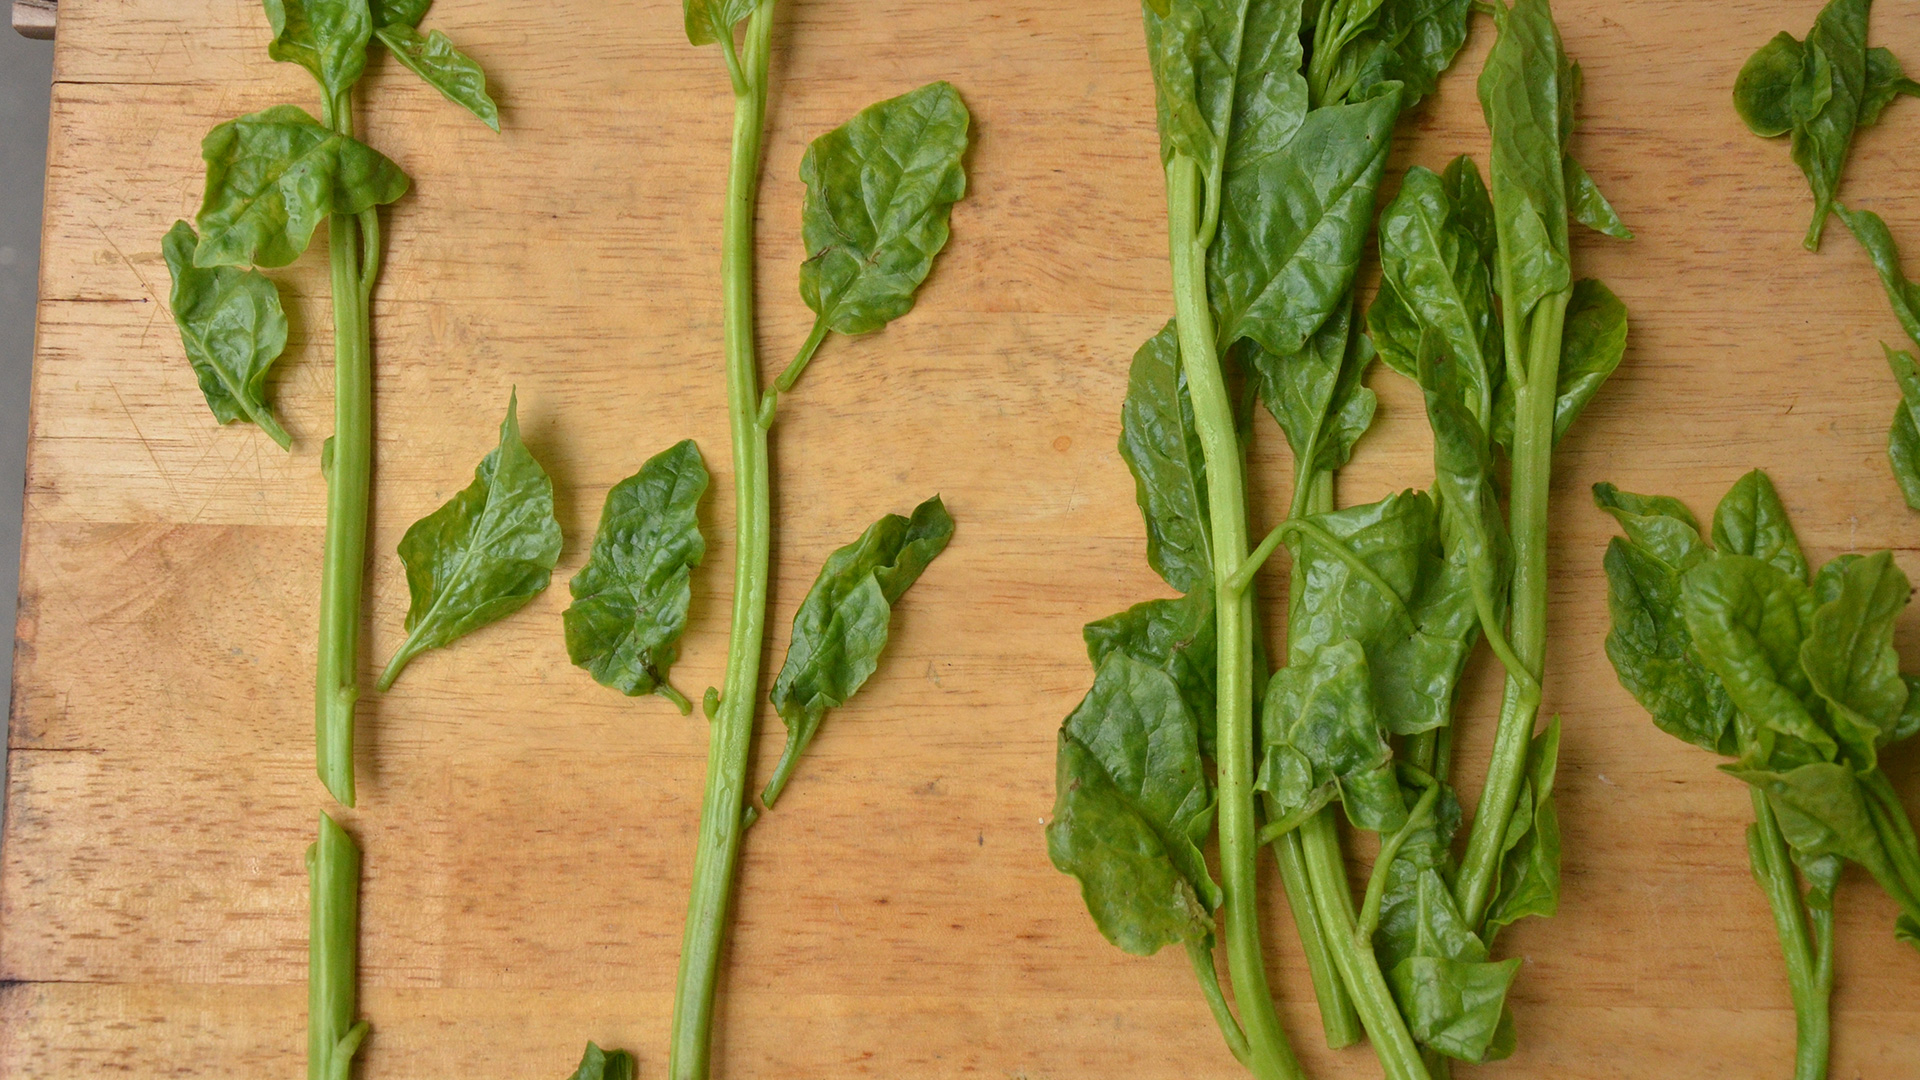
1. Chop
Cut the base off each stem, leaving a stalk 10-12cm in length.
Trim off all but the topmost 3-4 leaves.
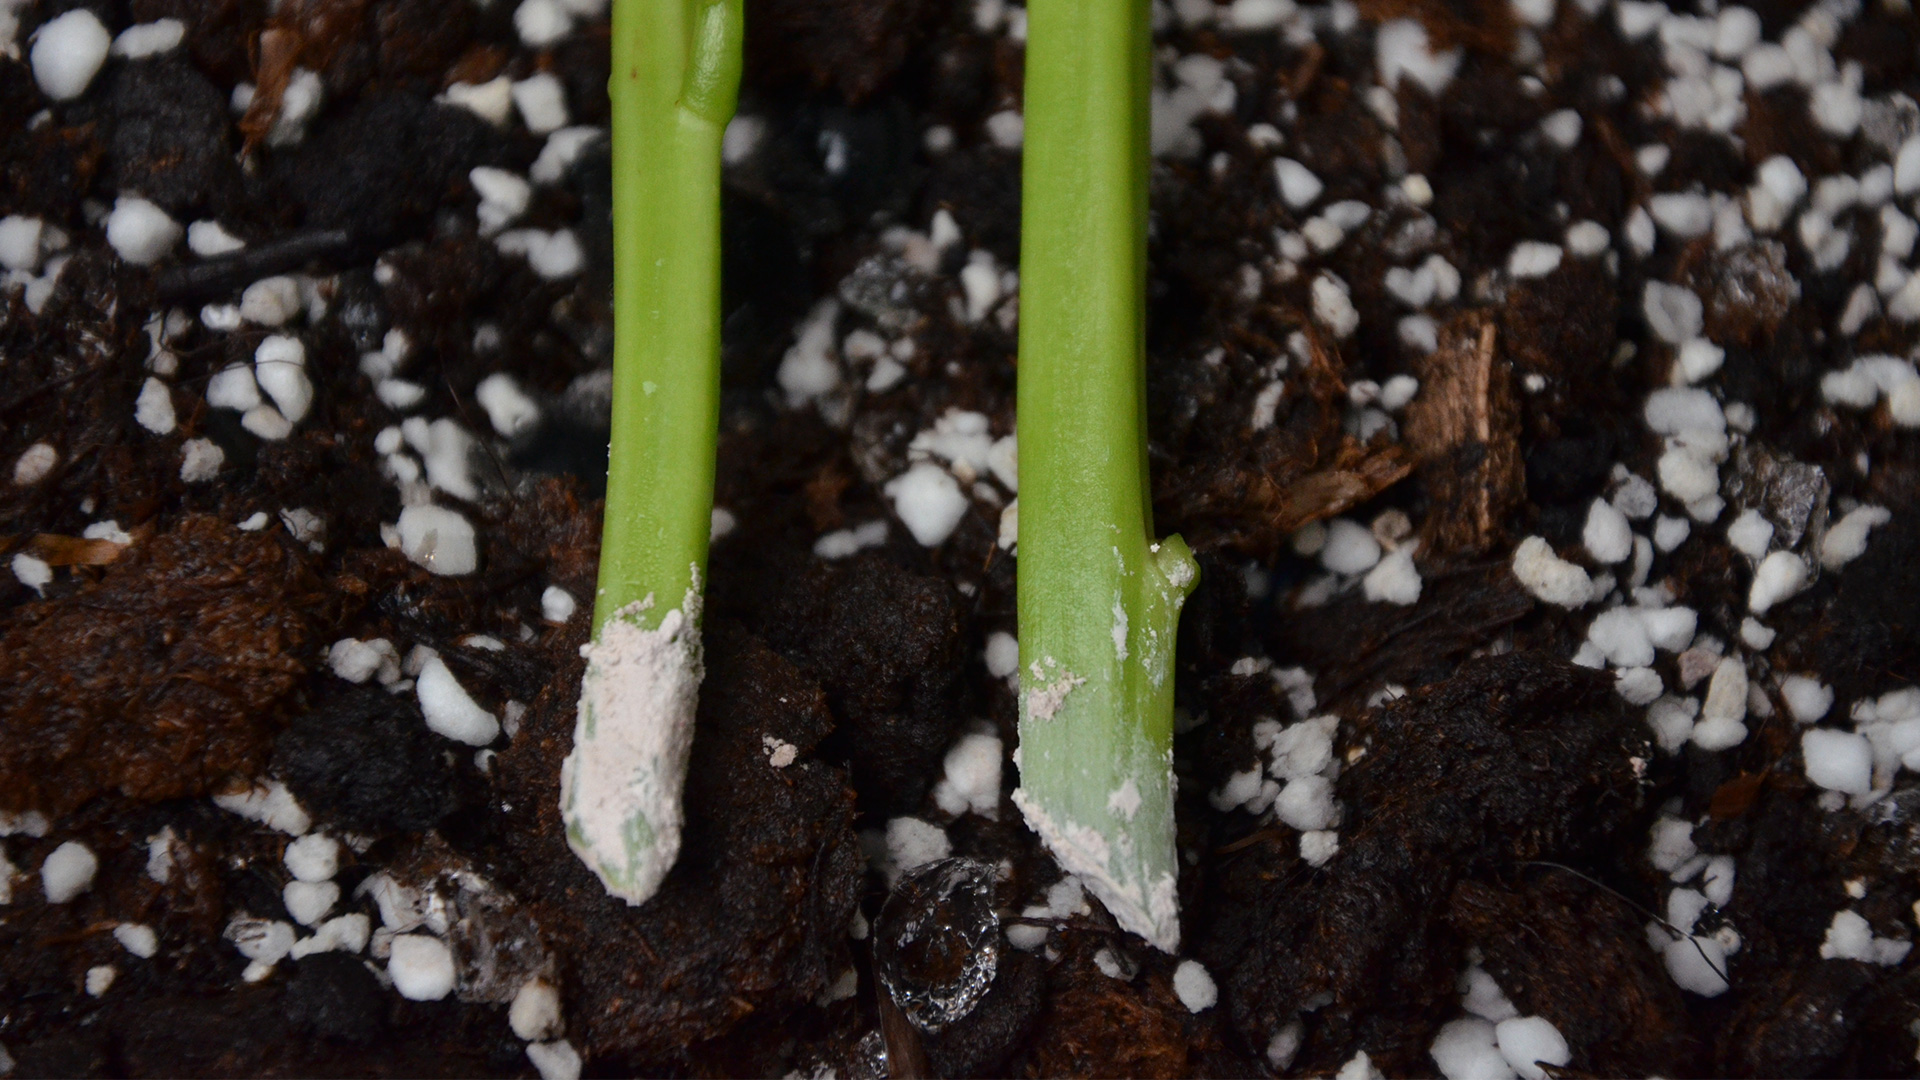
2. Plant
Dip the cut end of each stalk in the rooting hormone powder, if using, and gently shake excess powder off.
Rooting hormone will help your cuttings grow roots and establish themselves faster, but it is not essential.

Moisten the soil prior to planting.
Use a stick to poke a 5cm deep hole into the soil, then plant each stalk into the soil, 4cm apart from each other.
Press lightly but firmly around each stalk to secure it upright.
Gently water the top of the soil till it is fully moistened.
3. Grow
Put the pot in a place with bright, indirect light and good airflow for 3-4 days, then move to full sunlight.
Keep soil evenly moist and fertilize after 1 month.
4. Harvest
Malabar spinach is ready to harvest when plants are 30cm in height.
Cut off the shoots, leaving at least 5cm to regrow.
5. Regrow!
Continue watering, monthly fertilizing and harvesting, and your plants will continue to provide a healthy crop for you.
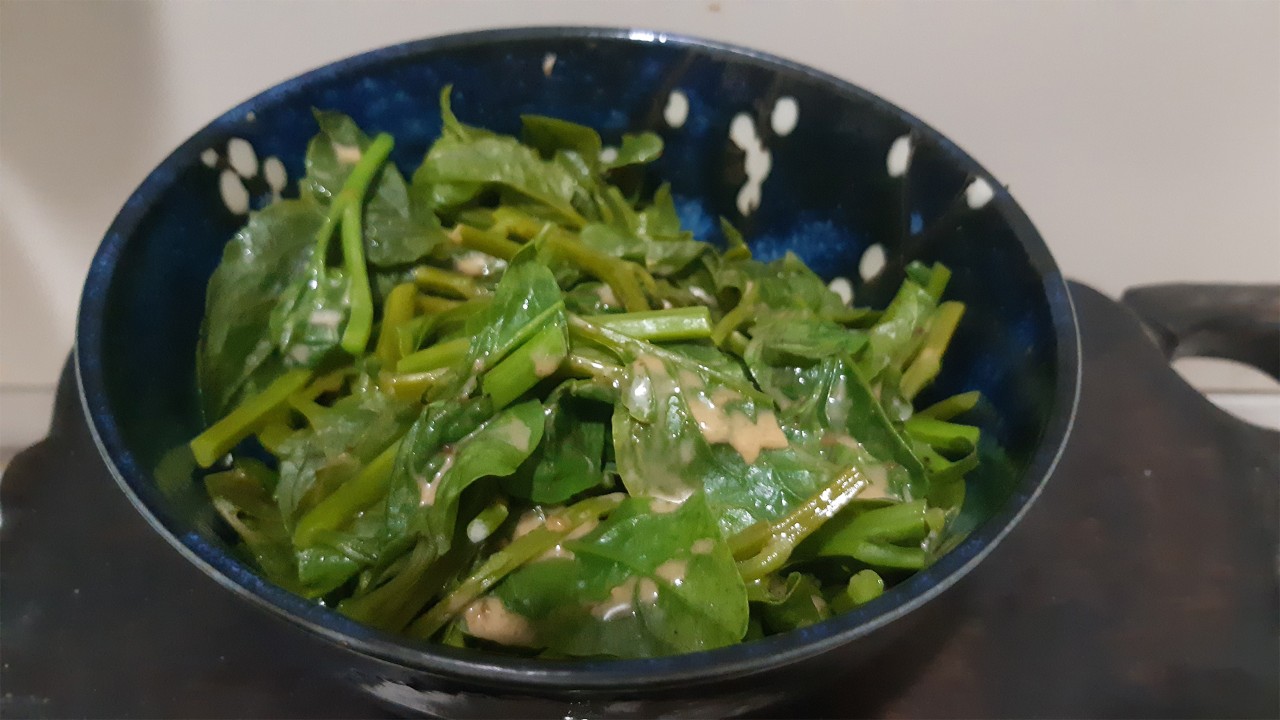
Malabar spinach with creamy sesame dressing
 Malabar spinach is packed with vitamins and minerals! One serving can provide up to 267% of the recommended daily intake of vitamin A, 170% of vitamin C, and 32% of manganese.
Ingredients:
Vegetables
- 1 planter/ 400g trimmed Malabar spinach
- 2 tsp vegetable oil
Creamy Sesame Dressing (Recipe by Namiko Chen, Just One Cookbook)
- 3 tbsp white sesame seeds
- 2 tbsp Japanese mayonnaise
- 2 tbsp rice vinegar
- 1½ tbsp soy sauce
- 1 tsp sugar
- ½ tsp mirin
- ½ tsp roasted sesame oil
Serves 4 people
Method:
- Cut spinach into 3-cm lengths, removing or peeling any fibrous stems.
Heat oil in a large frying pan over medium high heat.
Stir fry Malabar spinach 3-4 minutes, until bright green and tender-crisp.
Remove from heat and cool or chill in the refrigerator.
For the dressing, toast the sesame seeds over low heat in a pan till 2-3 seeds start popping. Remove from heat and cool.
Grind sesame seeds in a blender or with a mortar and pestle till finely powdered.
Whisk all dressing ingredients together, pour over cooked Malabar spinach, toss, and enjoy!
Written by: Janelle Jung, Senior Researcher (Research and Horticulture)
A transplanted pake (Hawai'i-born Chinese), she's finding her own Singaporean roots. Every plant has a story, and Janelle helps discover and share these with colleagues and guests, hoping to spark a mutual plant passion! Ask her what plant she named her cat after!
This article is part of our Fresh From Home series.
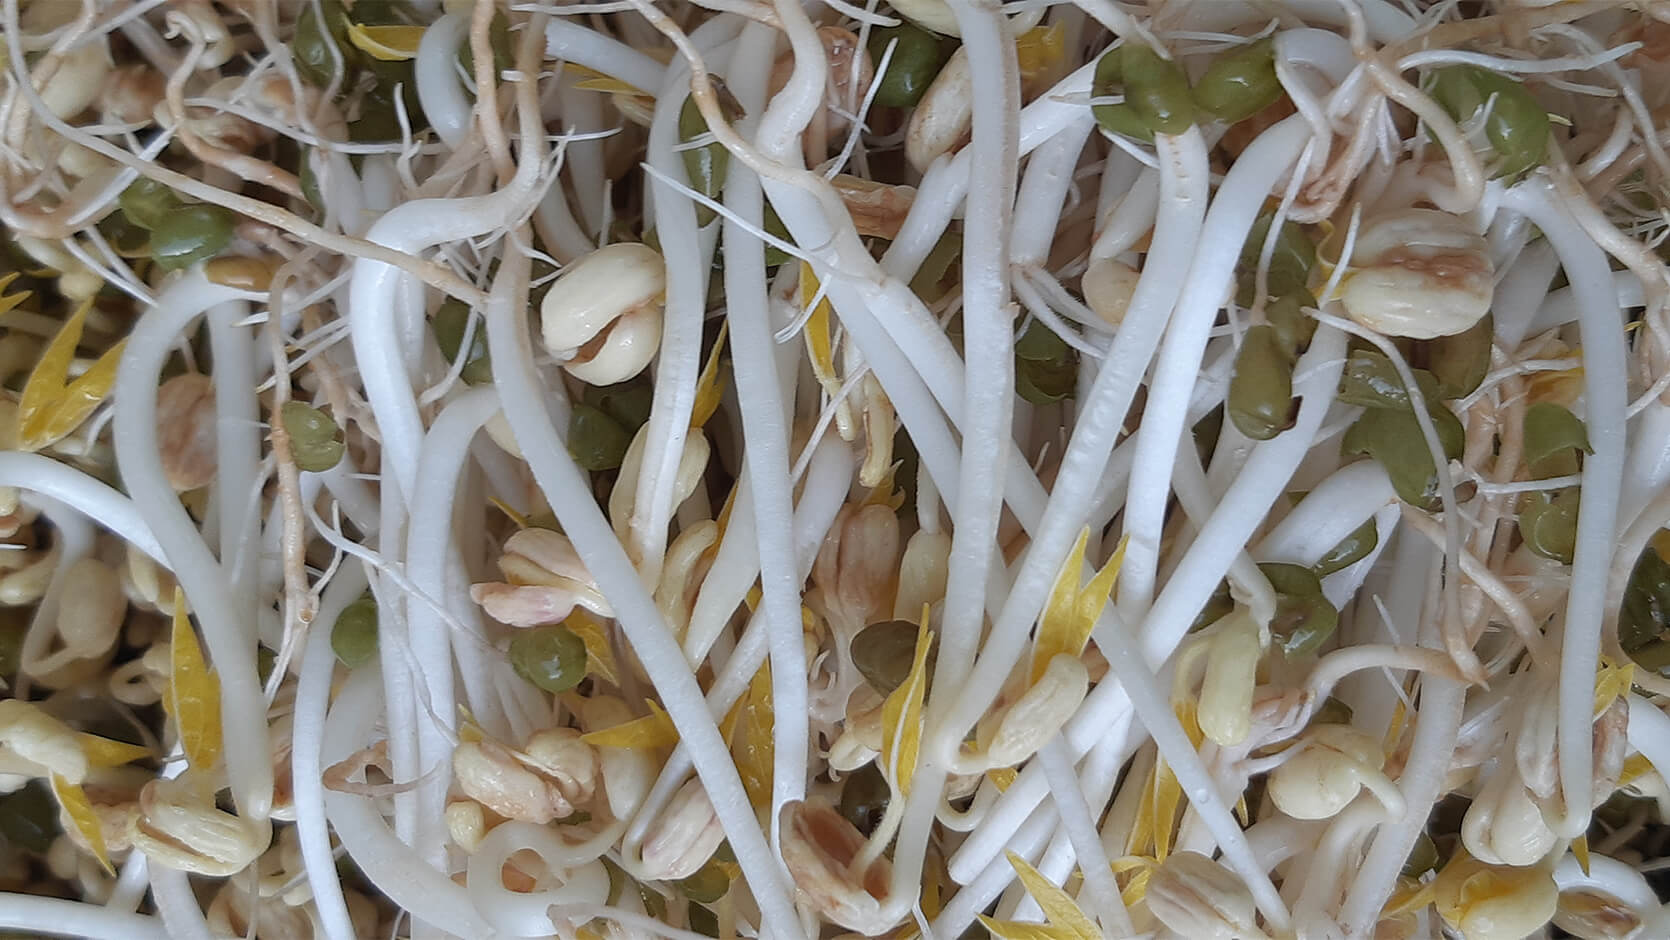
Read Next: Speedy Sprouts
Need a quick project to start this week? Grow your own mung bean sprouts in 3 days and add some extra nutrition to your plate!